Since launching the new Yield Prophet site, we've had a couple of questions about how to edit nitrogen applications on the new site, so here's a guide to get you started.
There is one method for editing nitrogen applications and three for adding nitrogen. The three methods for adding nitrogen will achieve the same outcome so don’t be concerned about which one you use.
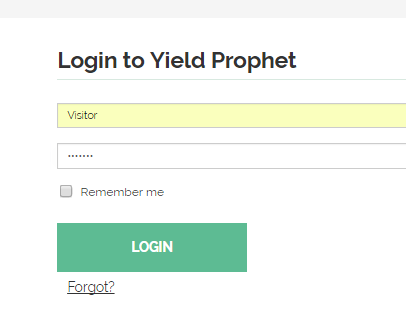
1.1 Log In
Just Login as normal, using your personal user name and password.
1.2 Dashboard
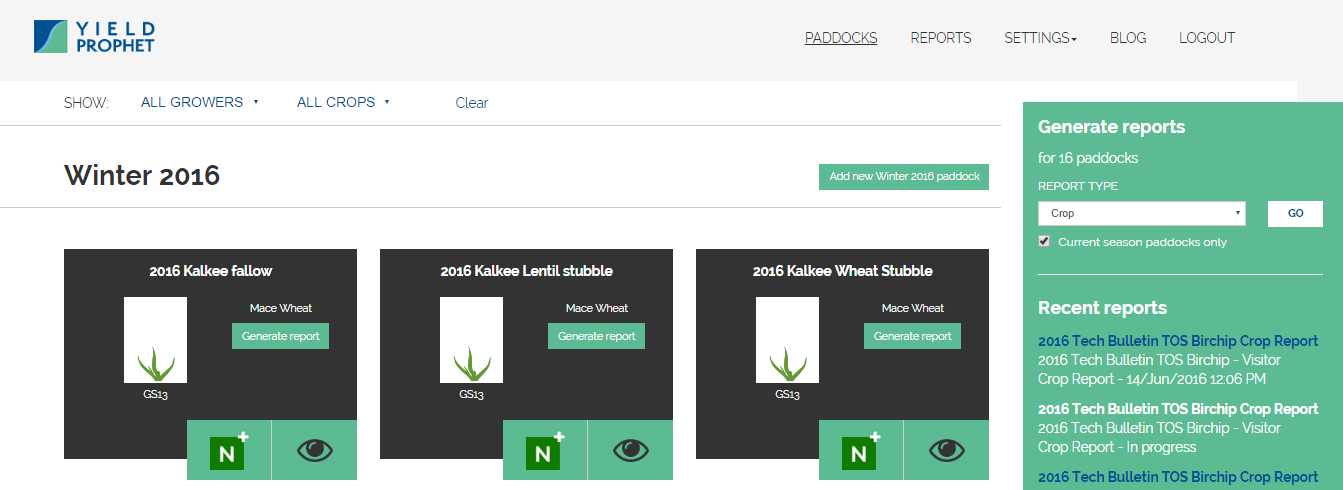
After logging in, a dashboard appears with a tile for each of paddocks in the main body of the screen and a green column on the right hand side displaying any recent reports generated.
2.1 Edit existing nitrogen inputs
To edit existing nitrogen inputs, click on the eye symbol in the tile related to the paddock of interest.

This will take you to the Paddock Page.
2.2 Nitrogen Management section
Scroll to the Nitrogen Management section towards the bottom and select the “View N” button.
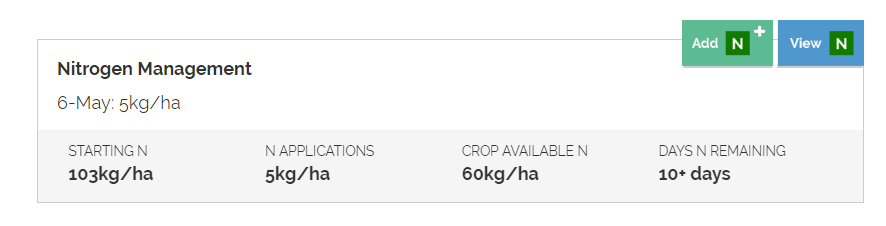
2.3 Editing N Inputs
In this screen, click on the “Edit” button to change the amount or date of a nitrogen application or delete it all together by clicking on the ‘x’ corresponding to the application.

3.1 Add Nitrogen Applications
To add nitrogen applications, click on the “N+” symbol related to the paddock of interest.

3.2 N application menu
A menu will appear where you can add the application date via a drop down menu and then the quantity of nitrogen in kg/ha.

Click on the green “Add application” button at the bottom of the menu to complete your entry. To save you time you can also apply this application to other paddocks at the same time by ticking the corresponding box/s.
This is the most direct and easiest way to add nitrogen records in to Yield Prophet.
4. Alternative methods for entering nitrogen applications
4.1 You can also add nitrogen applications in the Nitrogen Management Editing section (outlined in Section 3.3). Click on the “Add application” button and following the prompts.
4.2 Alternatively, you can click on the “Add N+” button and follow the prompts.
